This past weekend I decided to do some crafting. I’ve always like the look of mason jars. Initially, my idea was to paint mason jars to grow herbs in. I wanted a bit of style in my planters! Well once I started painting the mason jars I thought it was fun to “try some stuff out.” What I ended up doing is creating a few things for C, my craft room, and a great place to put my make-up brushes. I still fully intend to get some mason jars done for herbs but I don’t see nice weather coming anytime soon. However it looks like we are having a heat wave with temps in the 30’s tomorrow! Here is what I did to create my masterpieces!
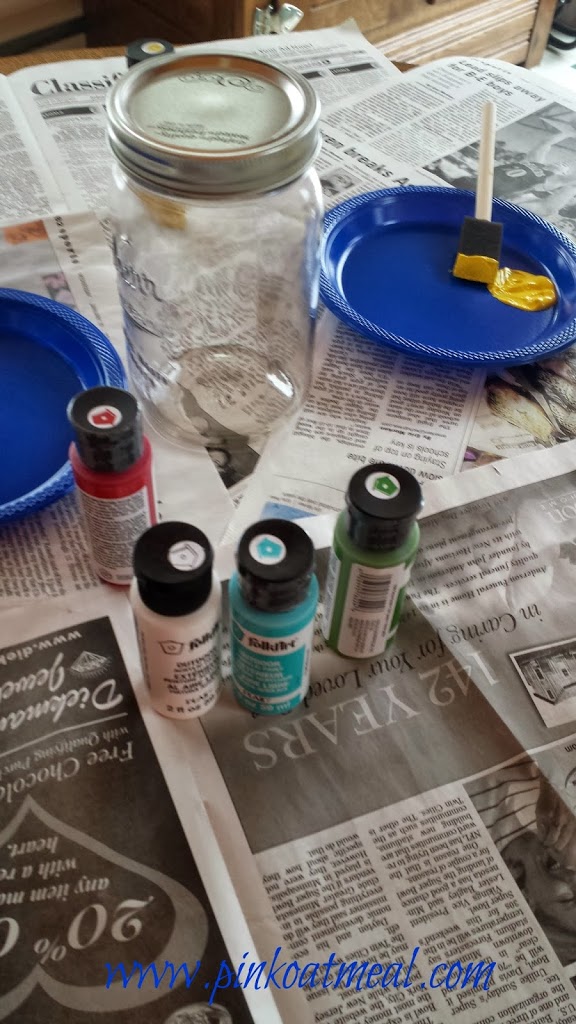
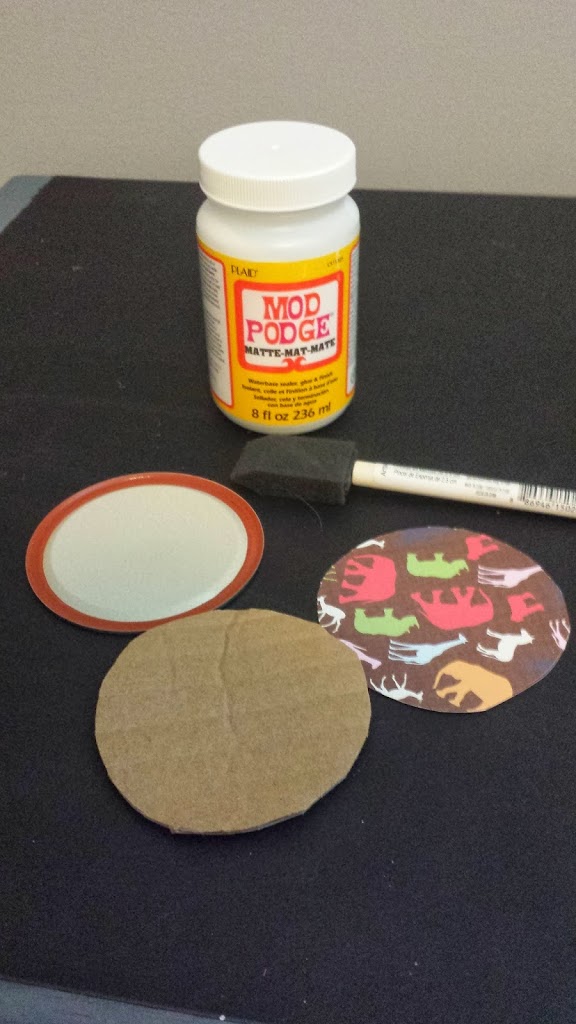
1. I started with the basic supplies which included the jars (I bought a bulk case), paint (I bought outdoor acrylic) and brushes. I used sponge brushes that I had on hand.
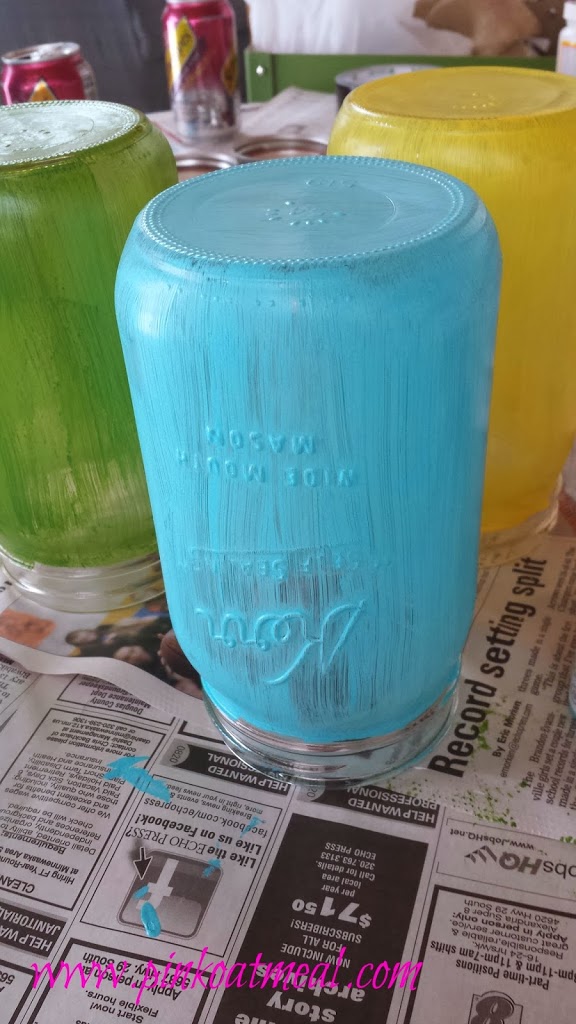
2. I started with painting my first coat on the jar and painted a few different jars. This is what they looked like after one coat.
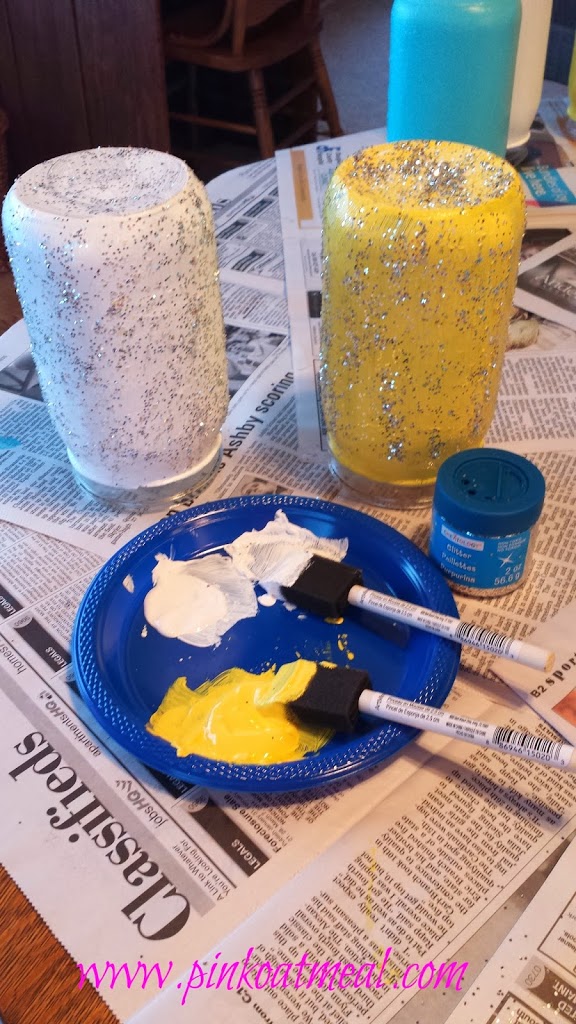
3. While putting on the second coat I realized I had some glitter. For some reason I seem to be quite attracted to all things glittery lately so after the second coat of paint I added some glitter to a couple of my jars. I just slowly poured it on and rotated the jar. I would recommend not doing the bottoms as I did. I was trialing on the bottoms but it is more of a hassle than anything. Glitter is optional of course!
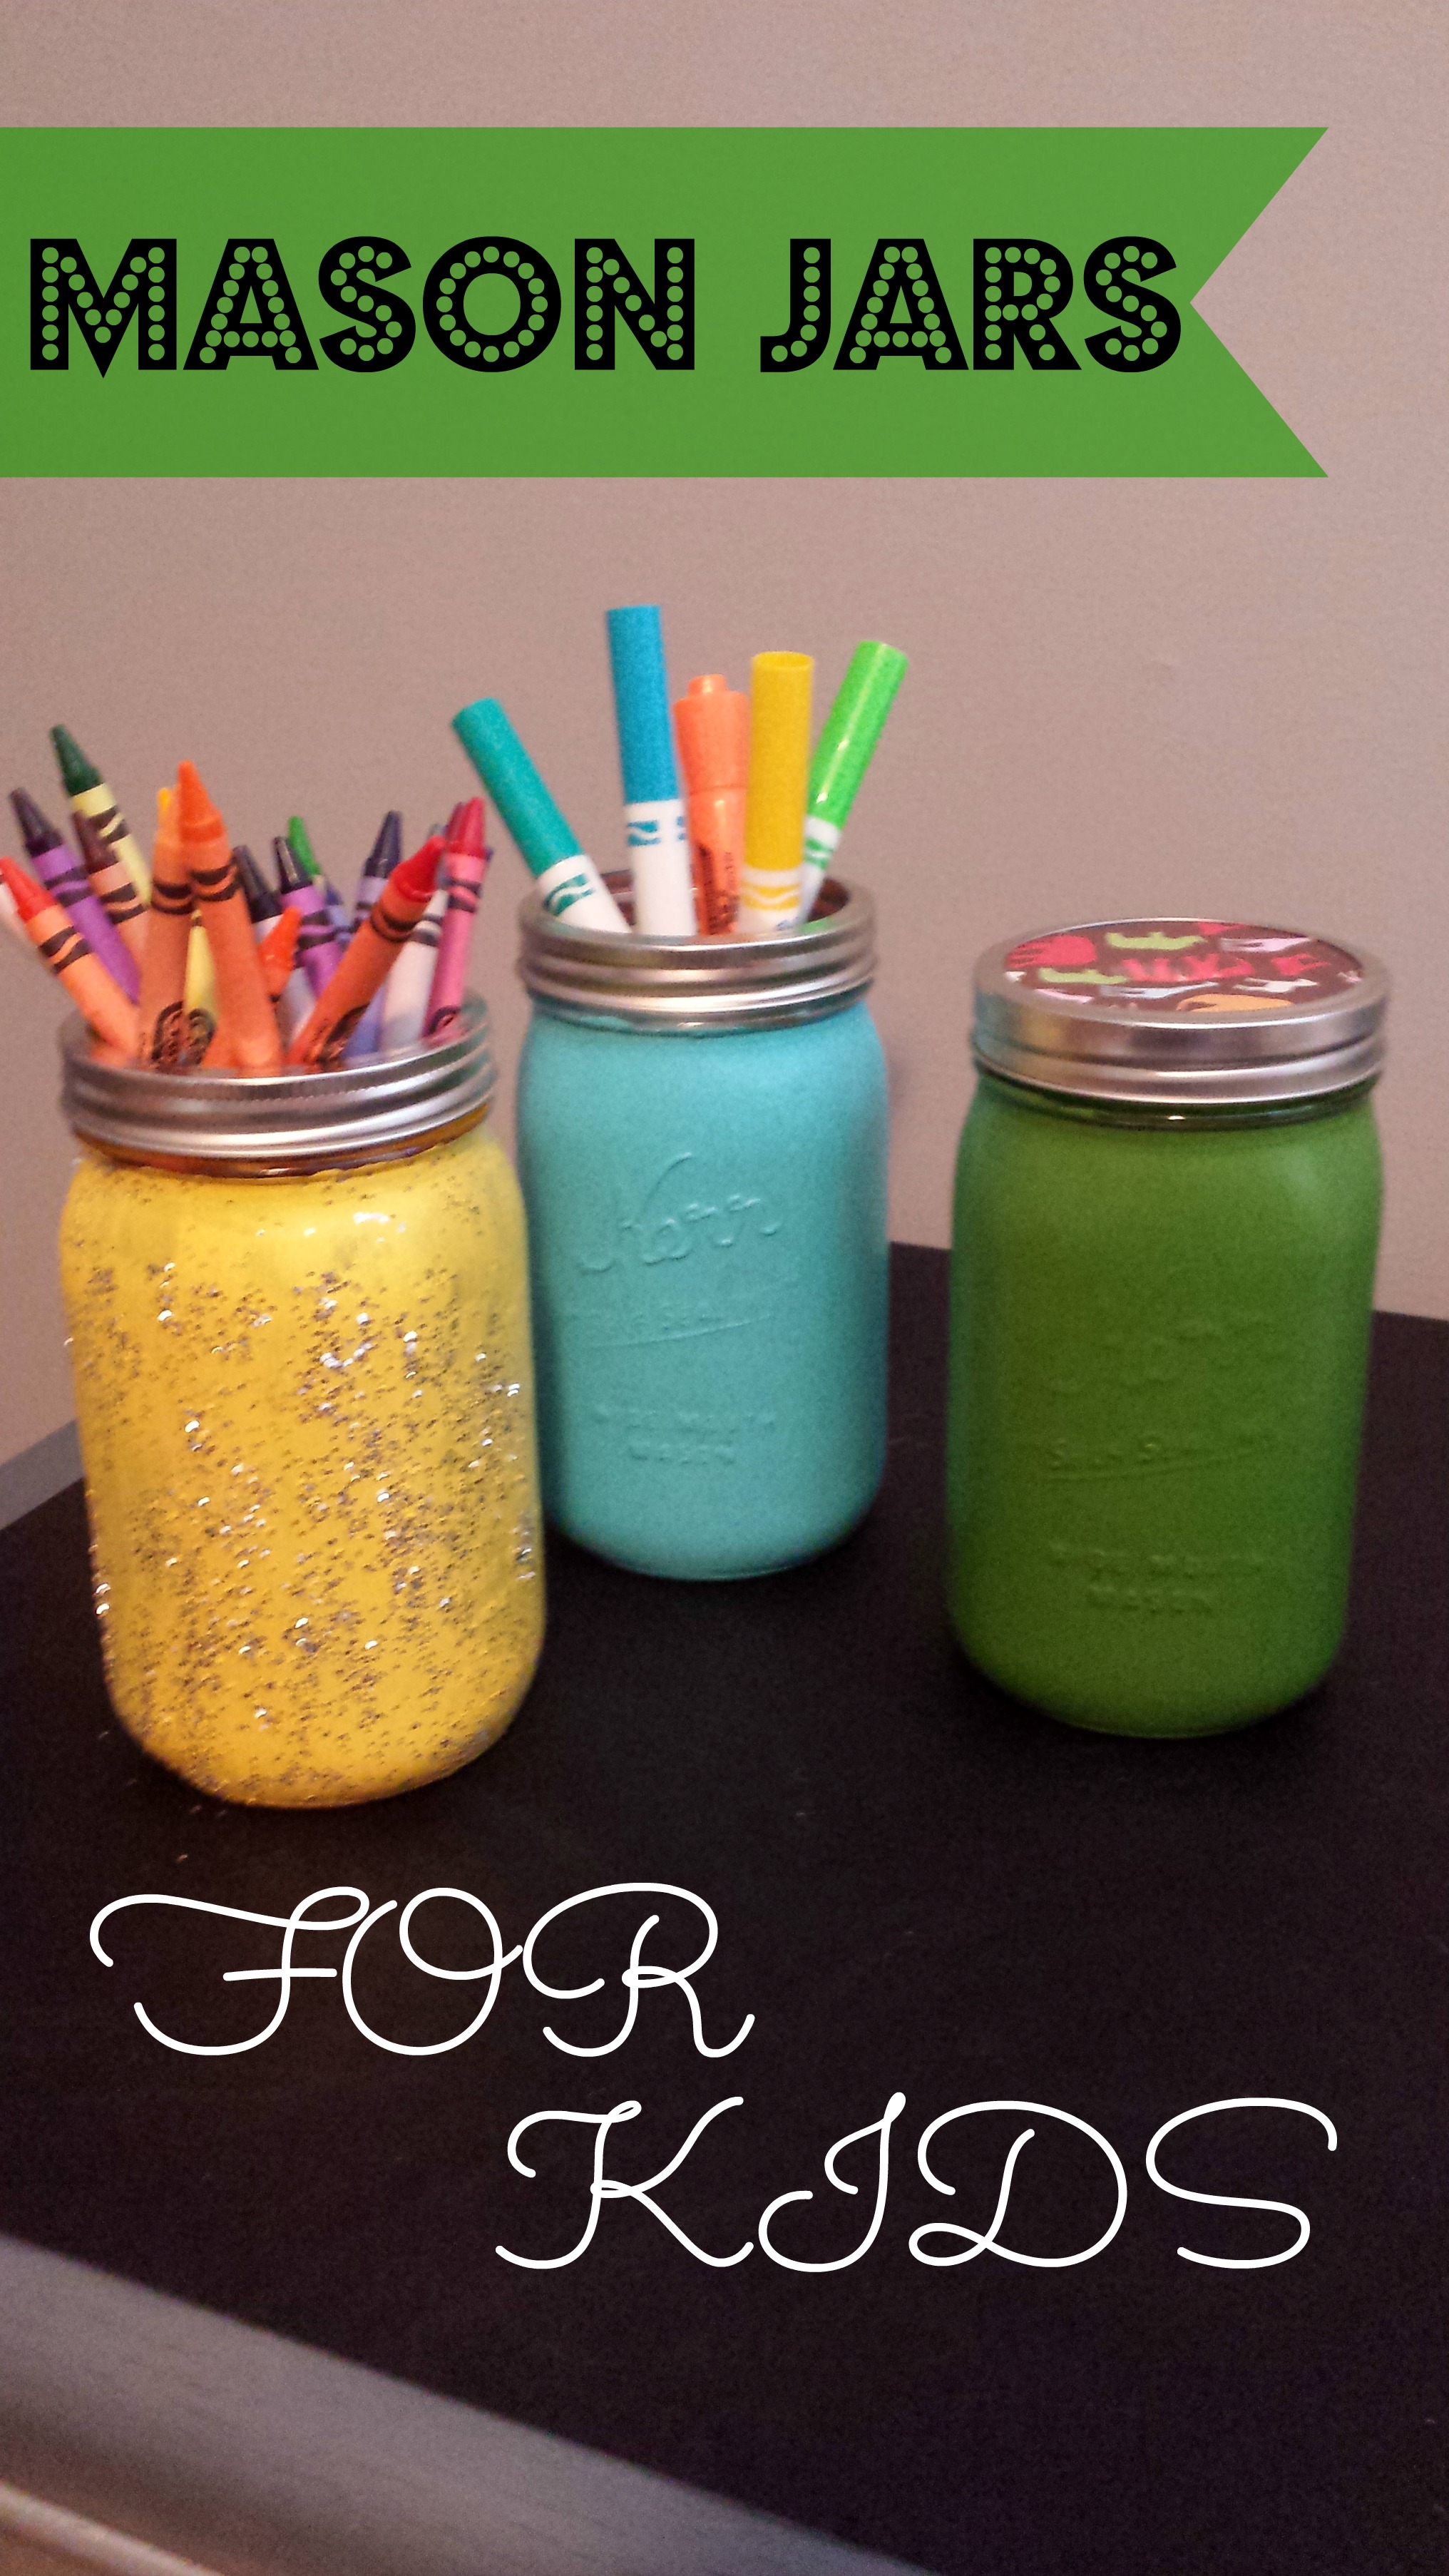
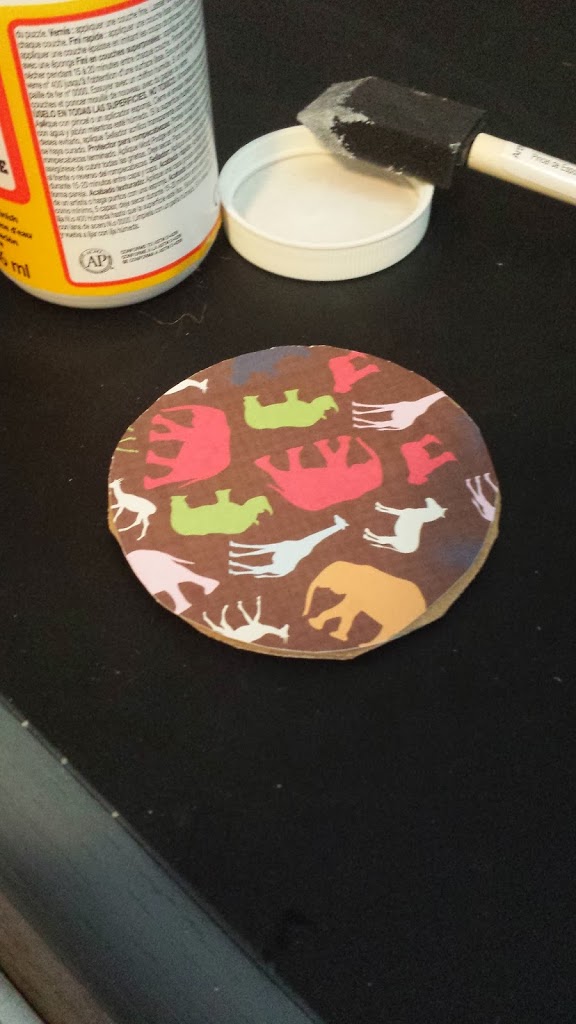
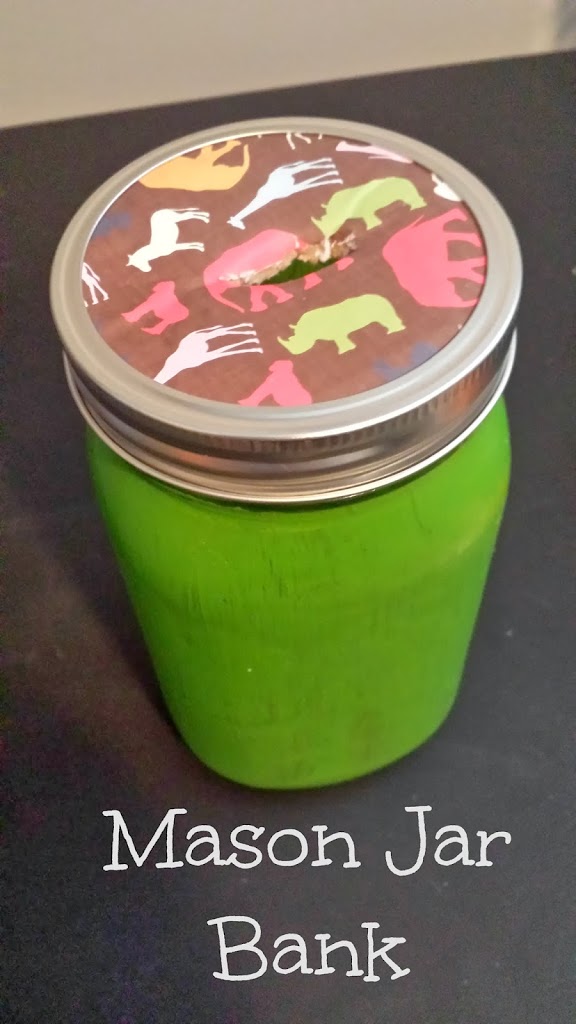
4. Once I had my finished jars I had to take it to the next step. I made a few jars for my use and a few jars to use for C and the playroom we are putting together! For C, I made a mason jar bank and for a pop of color in the playroom I plan to use the mason jars to store some markers, crayons, etc. Here is a quick tutorial on how these can be done quickly and easy!

Fun ideas! Love the little bank 🙂
Thanks for stopping by! They were fun to make!
I love the crayon jar holder idea! My actual question for you is this… knowing that the crayons are not as long as the jar is tall, what did you put in the bottom of the jar to make the crayons tall enough to still l stick out on the top? I want to do a similar setup for table centerpieces for a family event. I love it!
Great idea on using them as a centerpiece! I just had stuffed the bottom with tissue paper and packed it pretty tight. It worked well for me. Hope your party turns out great!