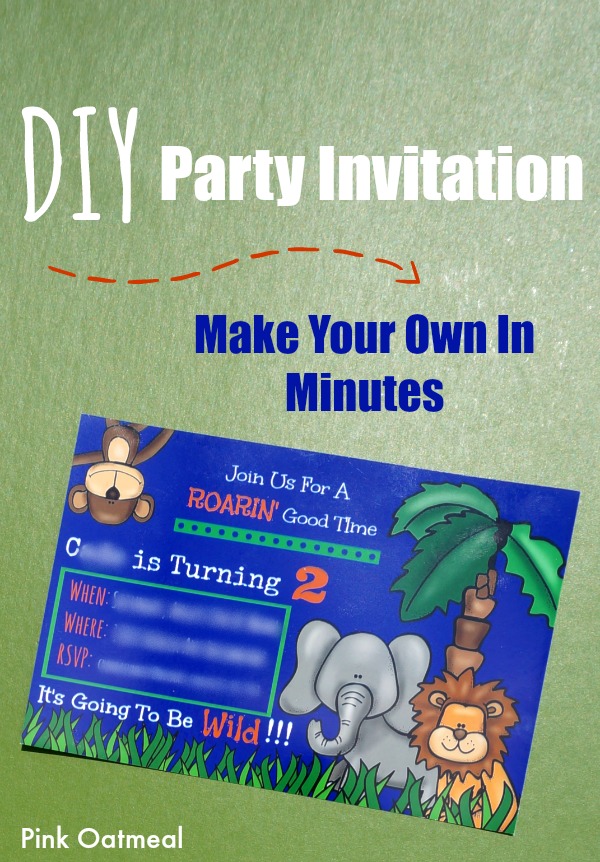
We are quickly approaching a 2nd birthday around here. I’d love to say that we are throwing a big party, but we aren’t. We are going to have a family birthday party. I’ll be honest, I’m tired and a big bash didn’t seem like something that I wanted to get into. Summer has been so busy! Even though we aren’t having a large party I still wanted to do a cute theme and send out cute invitations. After debating I had to go with the one thing that the 2 year old at this house truly loves, an animal theme, particularly a jungle/zoo theme. I’ve also opted for doing a DIY birthday invitation to keep the budget down. I’m a big fan of Pic Monkey (affiliate) and love creating things with their editing system. Anyone can do it it’s really simple!
DIY Birthday Invitation
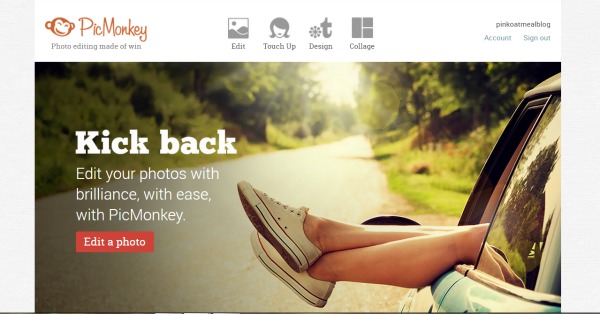
First things first, you need to go to Pic Monkey (affiliate). If you haven’t been there it is a free editing tool! It is awesome! It has an option to upgrade as well to unlock all the features, but even the free ones are great.
Select A Size
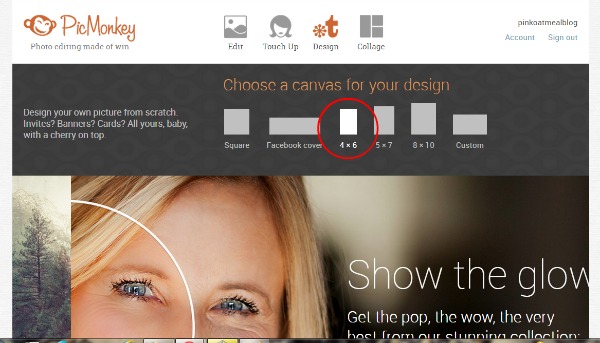
Once you are there you need to hover over the design option. There, you can select which size to make your card. I’ve opted for the 4×6 option to make for cheap and easy printing.
Birthday Card Canvas
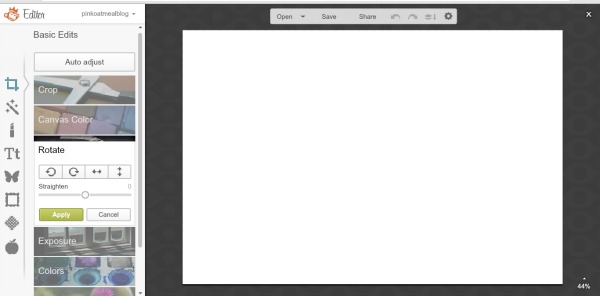
You can make your card vertical or horizontal. It will initially show up in a vertical fashion but you can change it to horizontal by selecting the rotate tool in the sidebar. You now have your blank canvas to work from.
Design
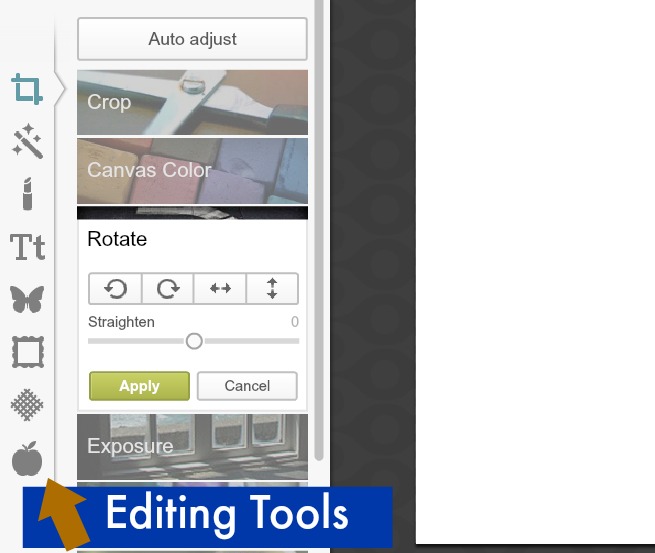
On the sidebar there are tons of options to choose from to get your design started. The far right sidebar lists all the different tools to use. There are the basic edits, effects, touch-ups, text, overlays, frames, textures and themes. You need to play around with them to look at all the features and awesome ways you can design your card. I have personally upgraded my account (it’s a great deal) so I can have all the features, but you could still design a pretty awesome card without upgrading.
My Design
Since I am a clip art addict, I’ve purchased lots of clip art in the past so my favorite feature for creating my card is under the overlays and then I select my own. This gives me the ability to use my favorite clip art to create the card. You definitely don’t need to be an addict to create a cute card. Pic Monkey has plenty of things to choose from. If using clip art be sure to read the terms of use. There are a lot of great clip artists out there who have free clip art for personal use.
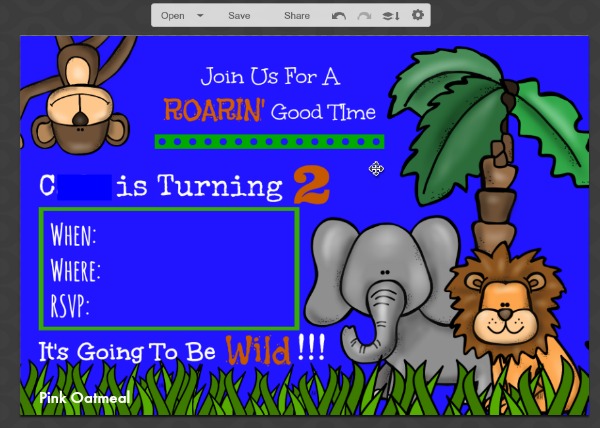
My background was a blue canvas I selected right from Pic Monkey. I used clip art from EduClips and The School Supply Addict. All the font I used was the font available on Pic Monkey. The background was just a blue canvas color. I used a ribbon overlay underneath a roaring good time.
Design Tips
As a word of caution, I’m always careful not to put anything too important close to the edge of a card when designing it. I would hate to see it cut off during printing time. Play around with designing…be careful you may get addicted! I like to send my cards off to print at somewhere like Target or Costco, but they could be printed at home as well.
MORE DIY IDEAS
Follow Pink Oatmeal’s board DIY on Pinterest.
I WANT TO HEAR FROM YOU
Let’s connect! Pink Oatmeal is on Facebook, Pinterest, Twitter, and Instagram!
PicMonkey is such a great program. Using that to make my own birthday cards would not have occurred to me. Thanks for the wonderful suggestion! You have a great site!
Yes I love it too. I use it for Christmas cards, thank-you cards etc! Thanks for reading!