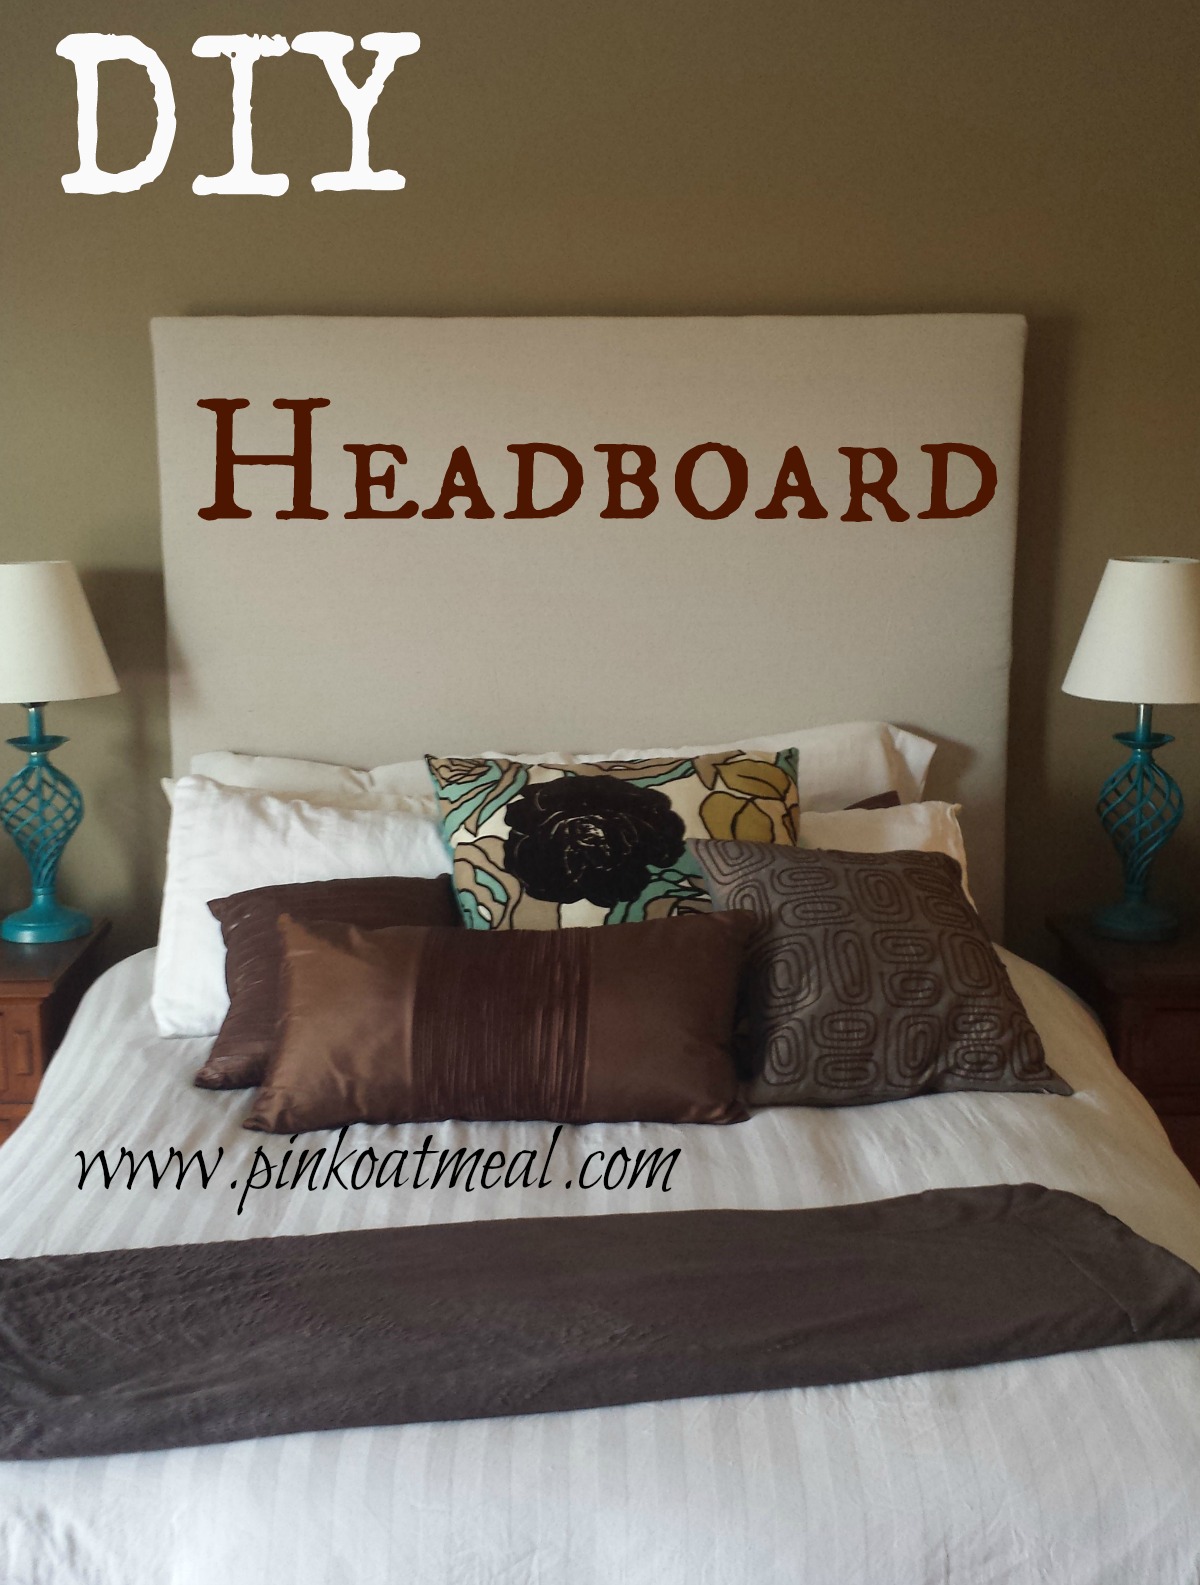
Yep you read it right I made a headboard. If you are about to fall off your chair I don’t blame you. We had a bed frame and headboard in our room that I hated. If you just rolled over in bed the thing creaked like it was going to fall apart. On top of it, the wood color was different than the wood color of our furniture and I really liked our furniture in our room. So in my mind the bed frame had to go and it made the move to the guest room. That left us with just a basic bed frame with no headboard on a very large wall in our room. I wanted to get something up that fit the color scheme of our room which was mostly earth tones. We have an accent color but I wanted to stick with the earth tones and really was liking the linen look, so I went with it. This DIY headboard was pretty simple. It really doesn’t require much in the line of skills and only a few supplies. The best part is the cost. The total for my headboard was $44 and I have leftover plywood. The absolute best part of this headboard was that I used a painter’s drop cloth as my material. It looks just like linen with far less the cost. I picked mine up for $9.99 for a 6×9 foot size. That beats paying around $12 per yard for material!
Supplies Needed
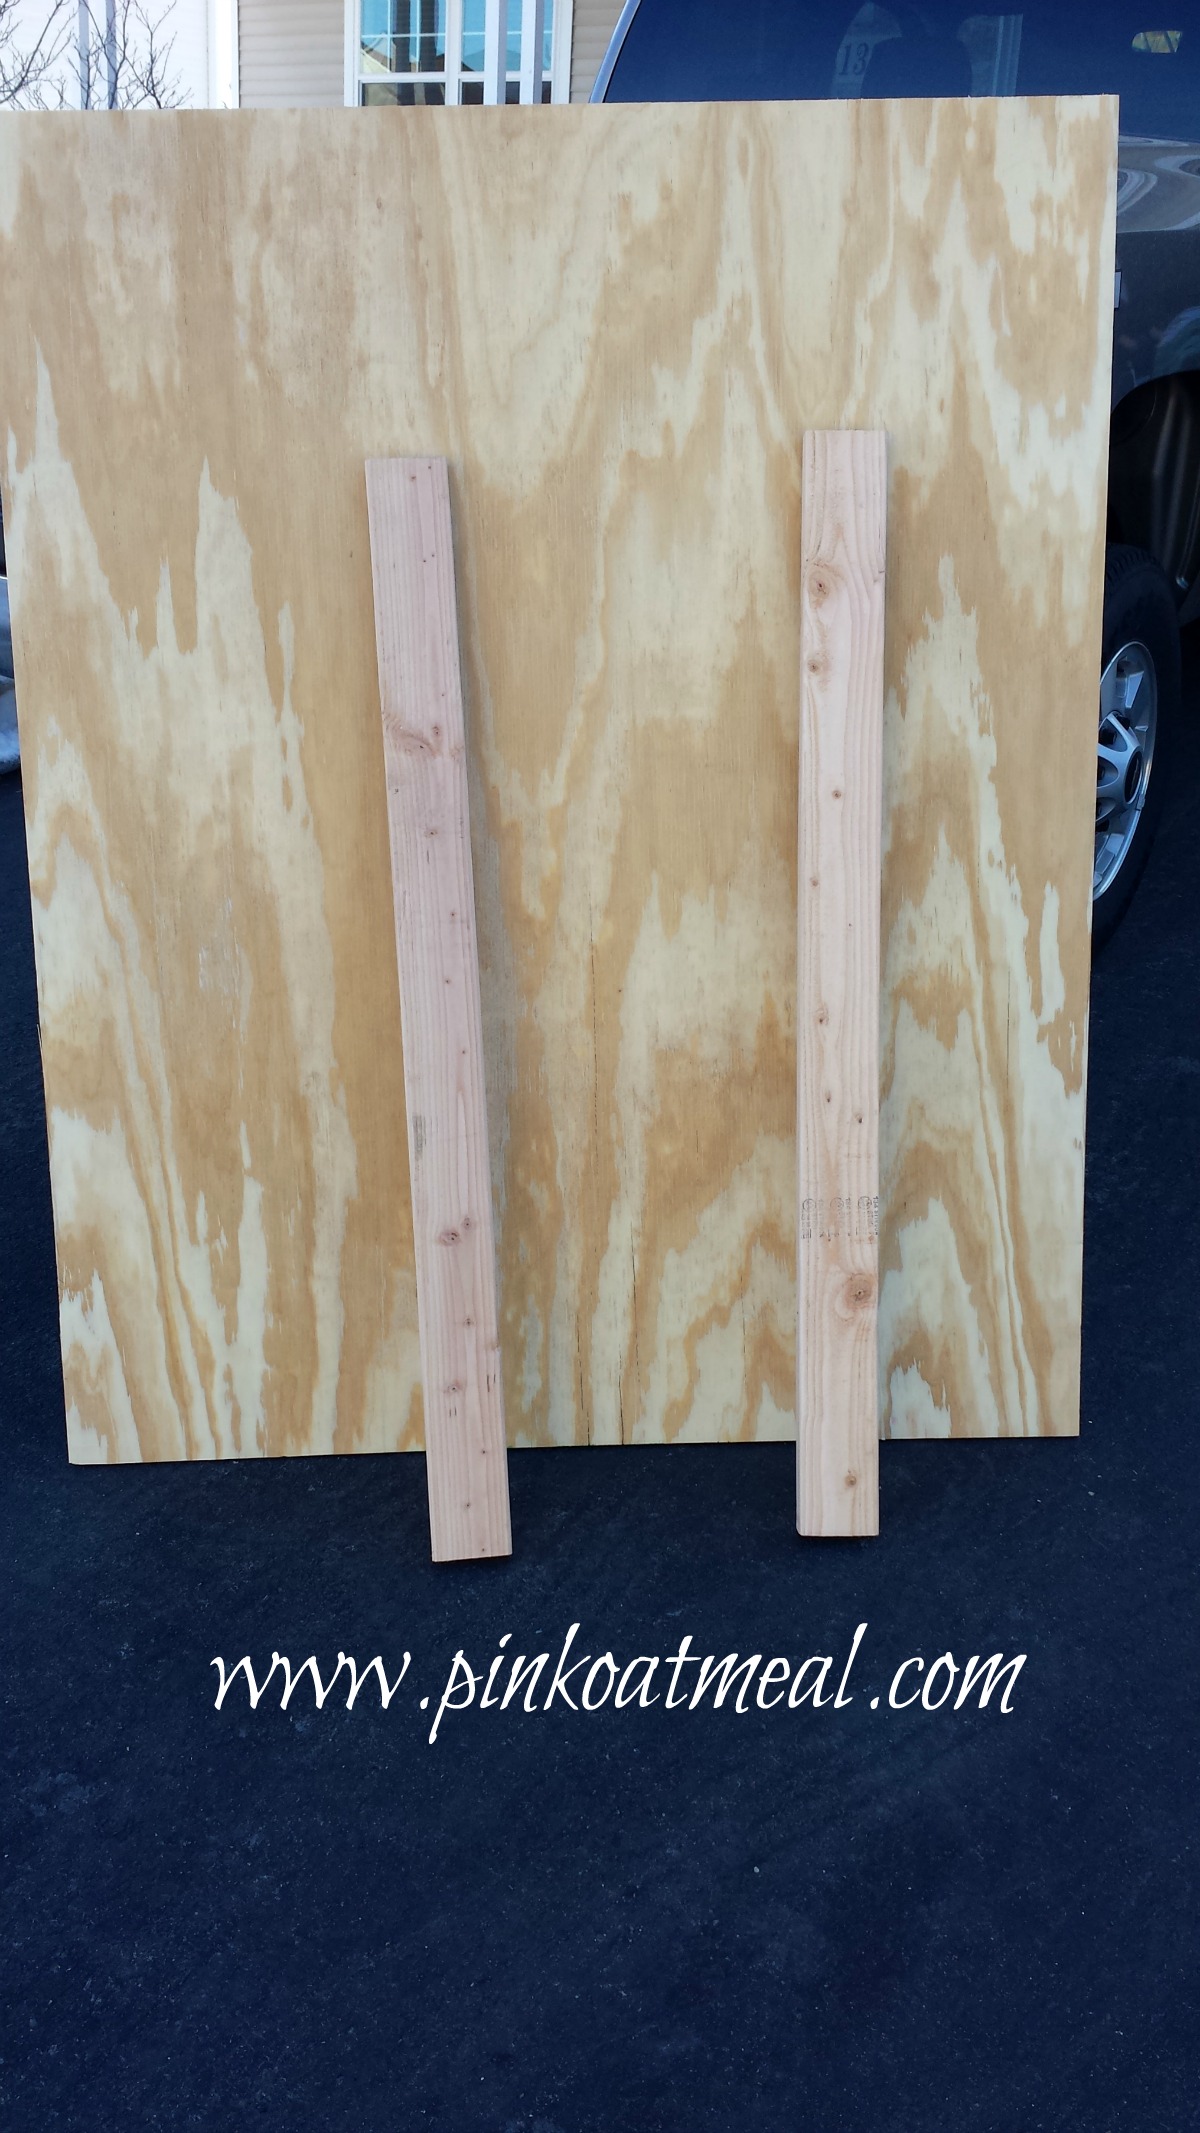
1/2 inch plywood- Queen size bed is 5 feet wide I went with 4 feet high which is a little higher than your typical headboard but I had a big wall space to fill.
1 2×4 (cut in half so you have 2 pieces)
Screws
1 Painters Drop Cloth – This is what I used as my material!!!
Batting
Staples for Staple Gun
What you need to do

1. I screwed the 2 pieces of the 2×4 into the plywood (with some help). Measure on your specific bed frame to make sure you know how far apart you want the pieces. This is what I did but I recommend this step later after having fully made the board.
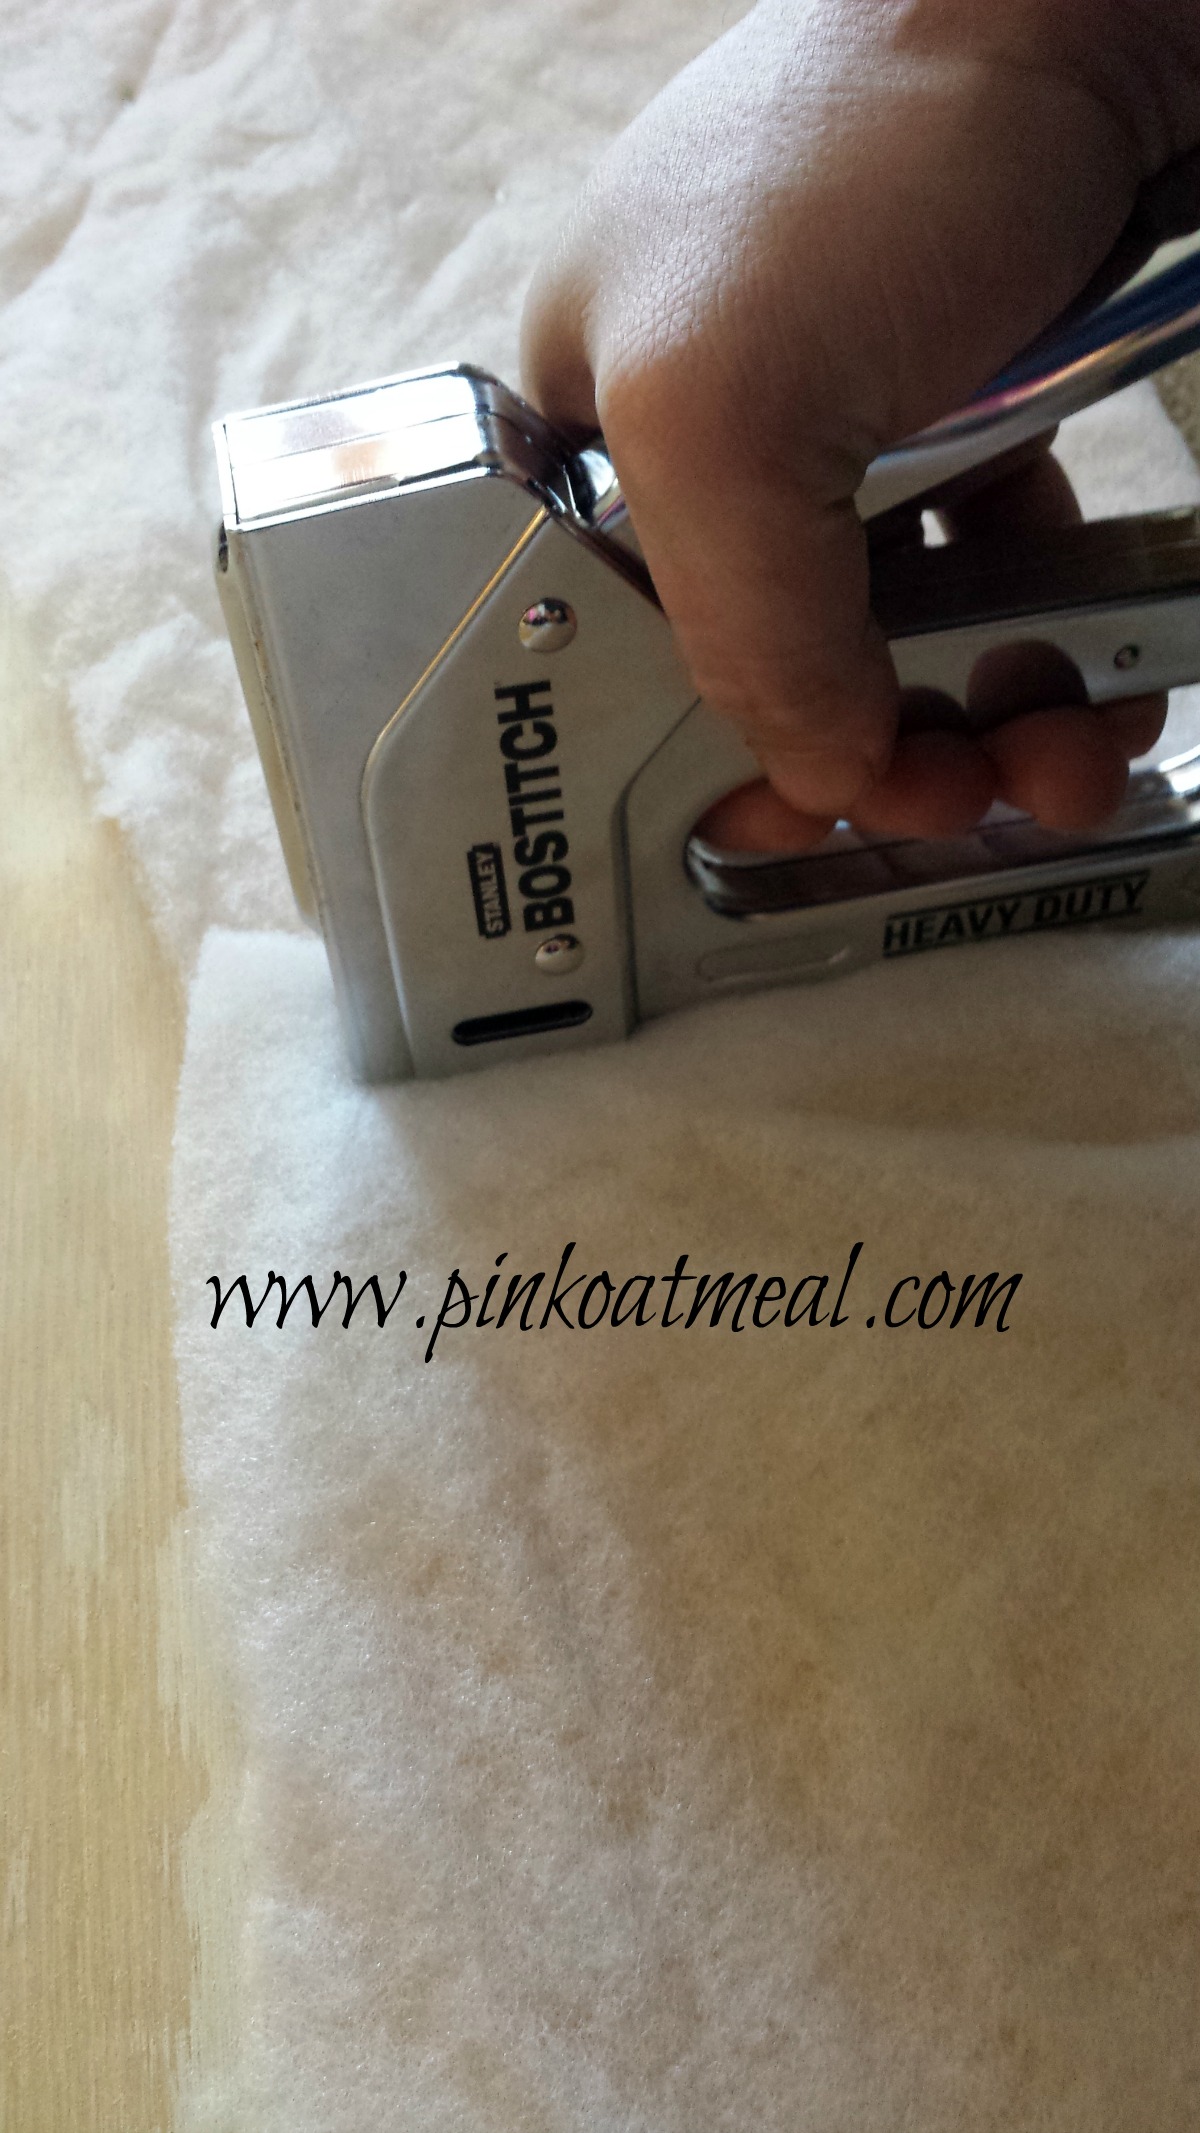
2. Next wrap the headboard in batting. I did 2 layers for a little extra padding on the headboard. Simply use a staple gun to staple it on to the board. Here is where I realized that I wish I already hadn’t screwed the pieces together. I would wait until the boards are covered and then screw them together.
3. Next wrap the painters drop cloth around the headboard. Again, use a staple gun to place it on the board. This is done the exact same way as the batting.
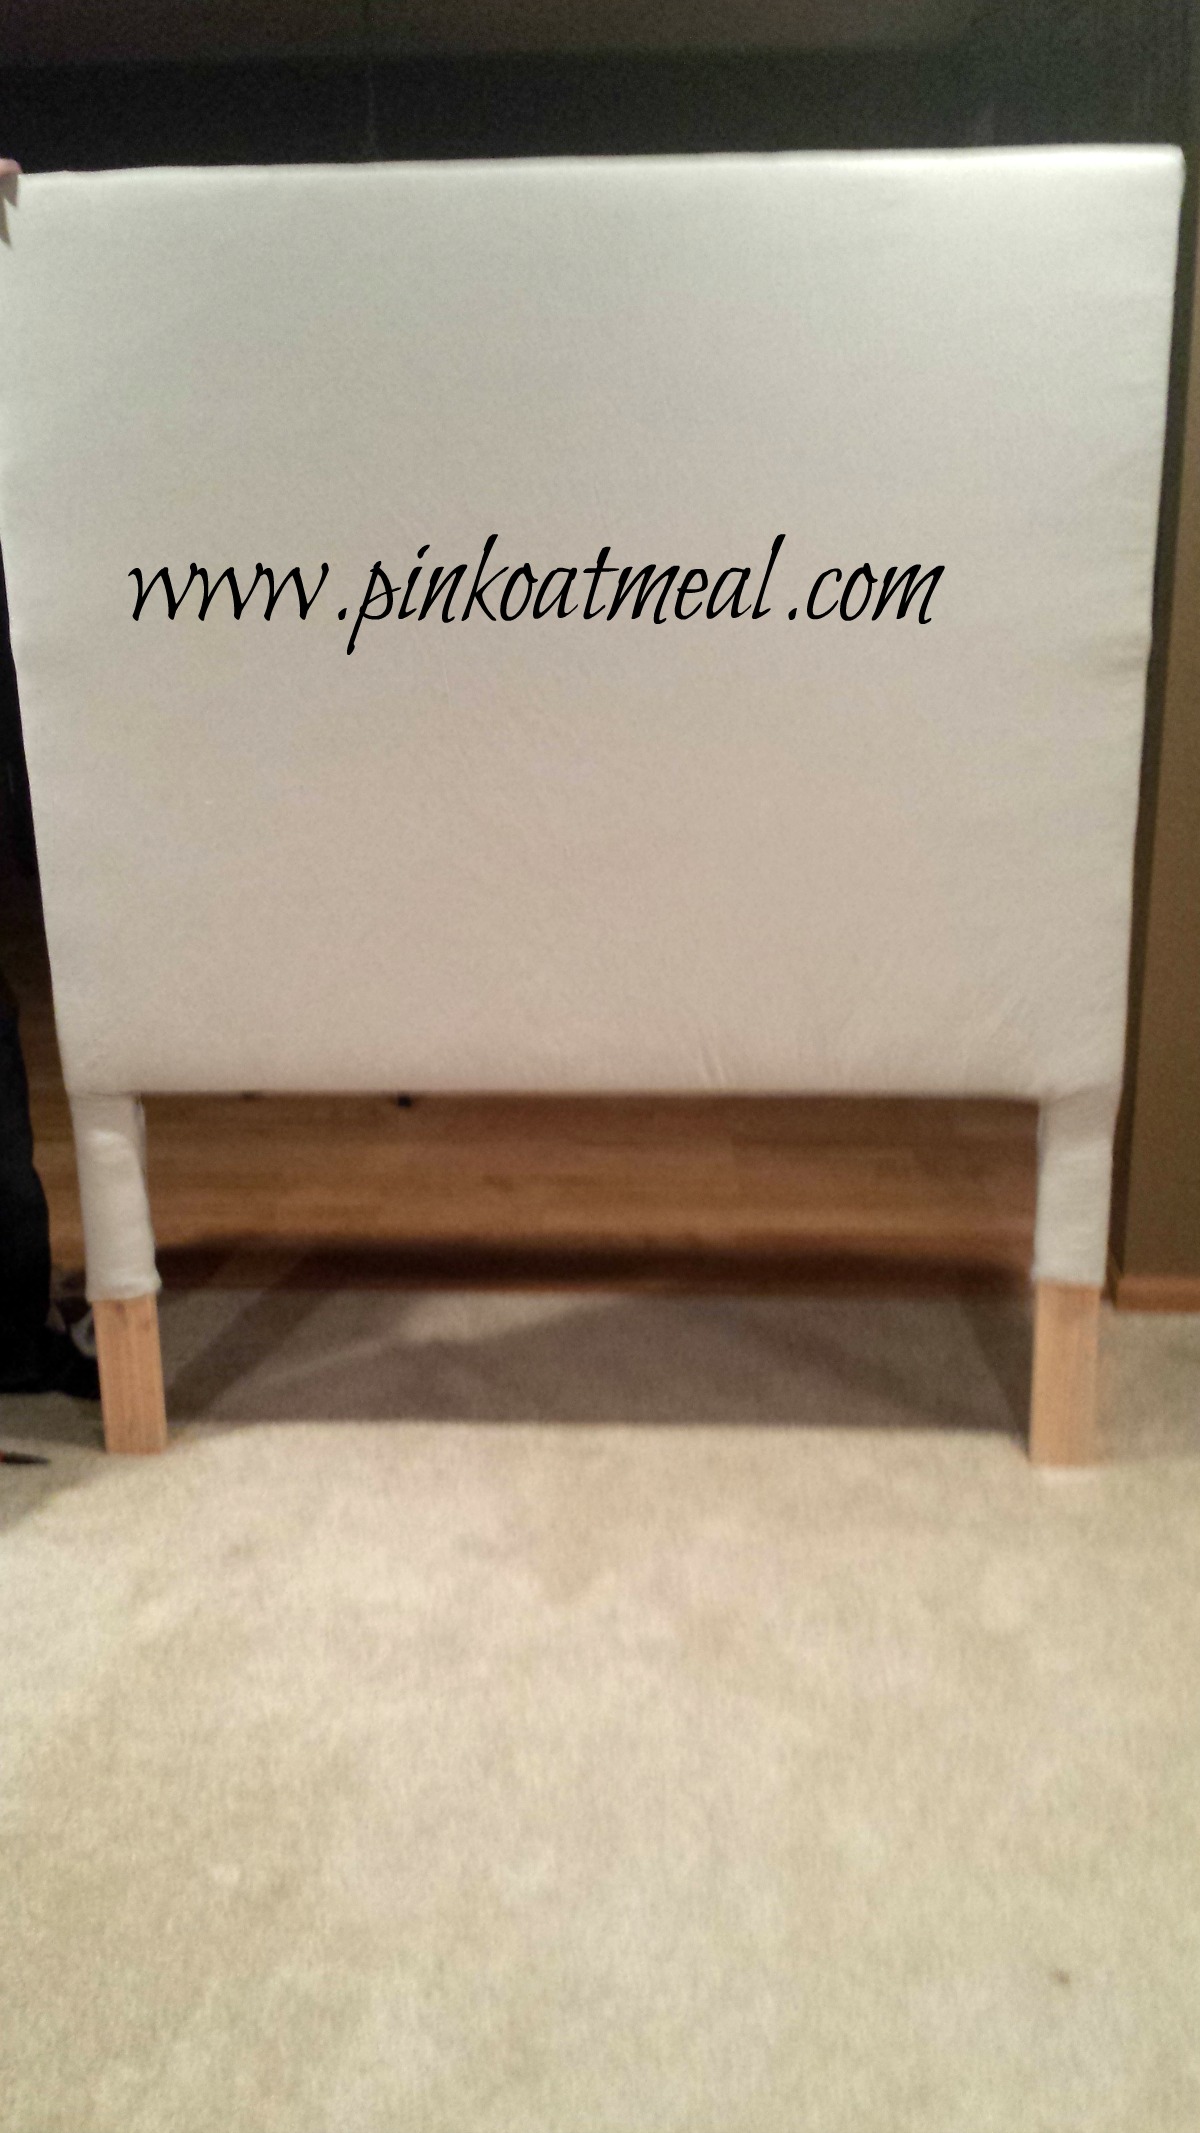
4. Now you have your headboard. It’s that simple! This would be the time where you could add any decor you would like. I personally like the nailhead look, however my husband disagrees so we are at a stand still for now.
5. Now all you have to do is attach it to your bedframe. We just took 2 screws and screwed it into the leg portion of the head board and we were done! I made the whole thing in one evening.

If you are looking for a quick and easy way to make a headboard I strongly recommend this. So easy. If you were wondering about those great lamps check out my post on how I re-purposed them. Now does anyone have any great ideas on something fun to add to the headboard?